
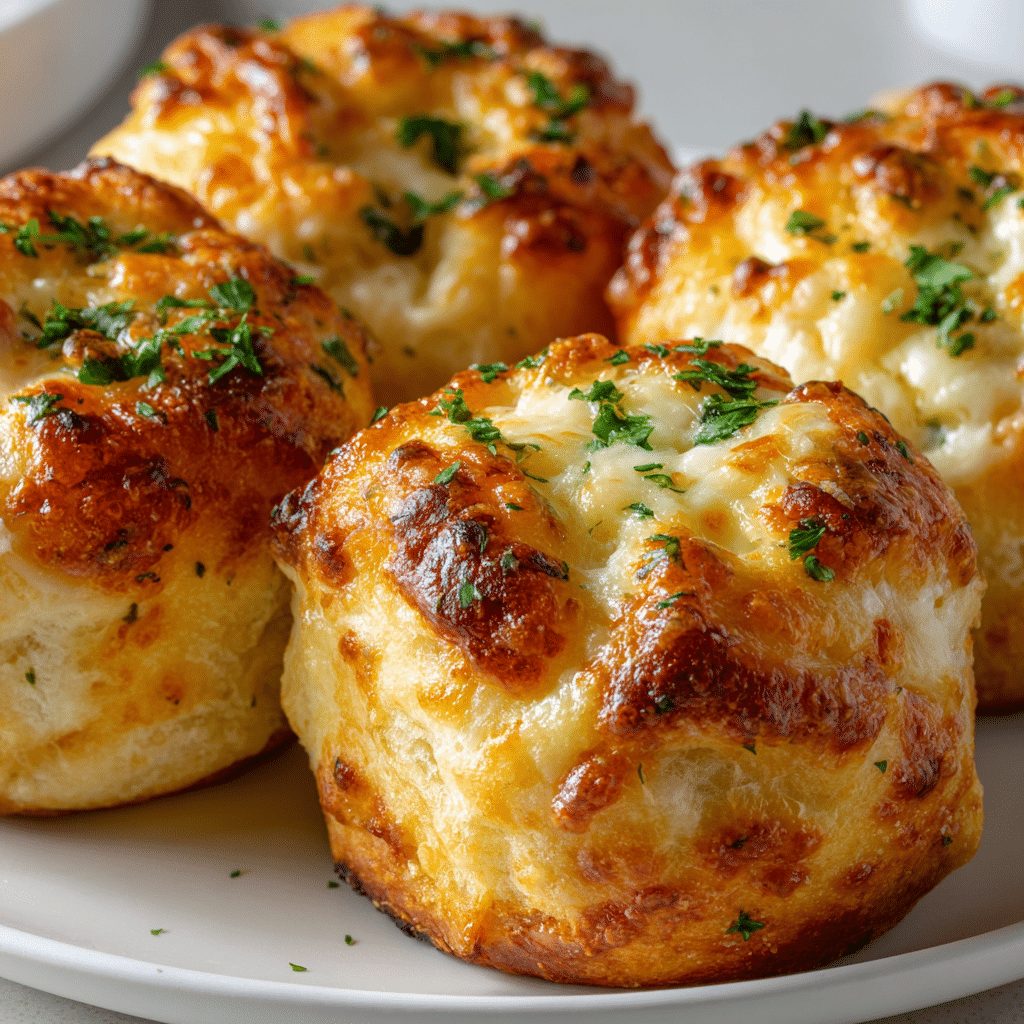
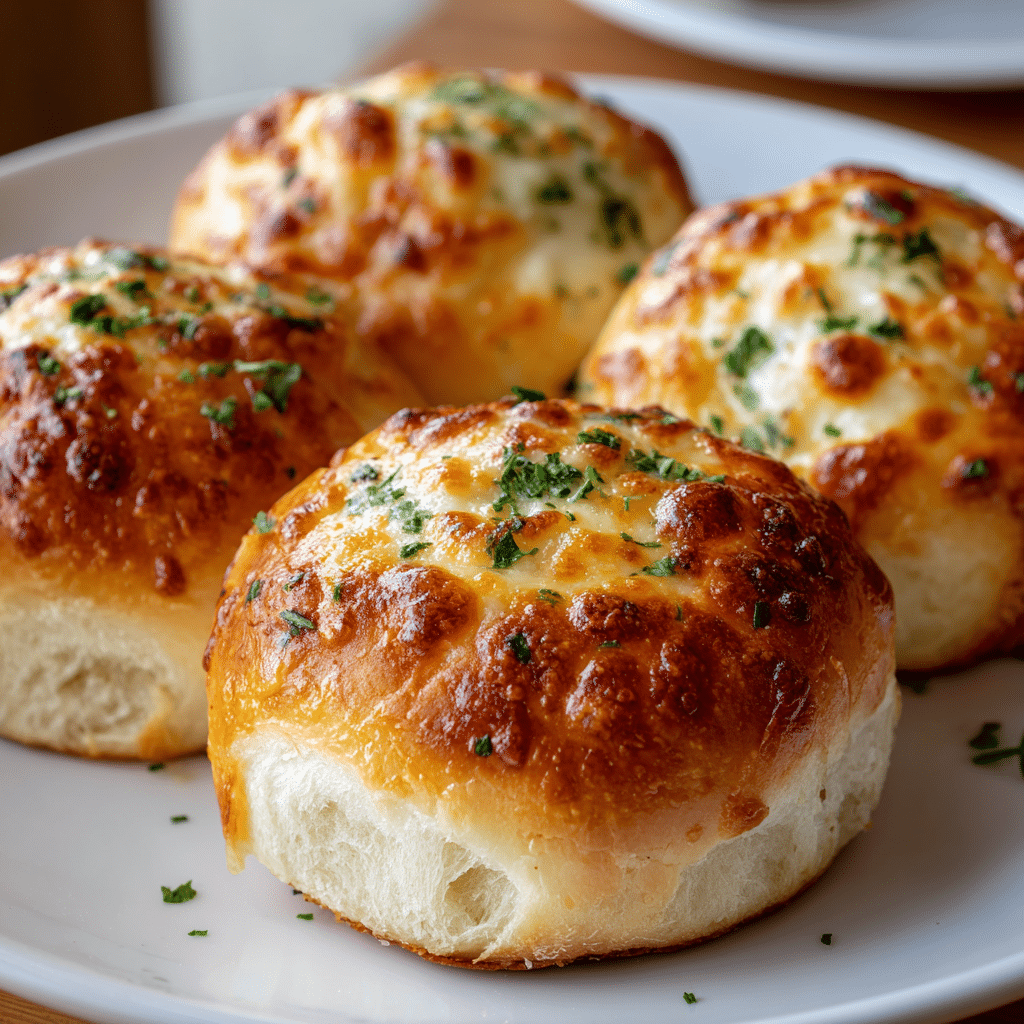
There’s something undeniably comforting about warm, pillowy bread straight from the oven—and when it’s stuffed with melty cheese and infused with rich garlic butter, you’ve got a recipe for true kitchen magic. These cheesy garlic rolls are soft on the inside, golden on the outside, and packed with gooey, savory flavor in every bite. Ideal for parties, holidays, or alongside your favorite pasta, they’re the kind of crowd-pleasing bread that disappears faster than you can say “seconds.”
Introduction: A Comfort Food Classic with a Cheesy Twist
Garlic bread is already a dinnertime hero, but cheesy garlic rolls take things to another level. Inspired by both classic dinner rolls and Italian-style garlic knots, these rolls feature a tender, yeasted dough brushed with garlic butter and filled with melted cheese—usually mozzarella, though variations abound.
They’re perfect for serving alongside spaghetti, soup, or salad, but they’re just as satisfying as a snack or appetizer on their own. While you can make shortcuts using biscuit dough or crescent rolls, this version uses a simple homemade dough that bakes up fluffy and tender, holding the cheese beautifully inside.
Ingredients Overview: What Makes These Rolls So Irresistible
Let’s walk through the essential components of these soft, cheesy, and garlicky rolls:
1. All-Purpose Flour
-
The structure and bulk of the rolls come from flour. All-purpose is ideal—it has the right balance of gluten for soft, chewy texture without becoming too dense.
2. Yeast
-
Either active dry yeast or instant yeast can be used. Yeast causes the dough to rise, giving the rolls their signature fluffiness.
3. Milk
-
Warm milk makes the dough tender and adds a touch of sweetness and richness. Whole milk is best, but you can use 2% or plant-based alternatives (like oat or almond milk) if needed.
4. Butter
-
Unsalted butter adds richness to the dough and is key in the garlic butter brushed on top. It’s also used for greasing, giving the rolls their golden crust.
5. Mozzarella Cheese
-
Mild, melty, and stretchy—mozzarella is the classic choice for cheesy garlic rolls. You can also experiment with provolone, fontina, or cheddar for more flavor.
6. Garlic
-
Fresh minced garlic infuses the butter with deep flavor. You can also add a pinch of garlic powder for extra intensity.
7. Sugar & Salt
-
Sugar helps feed the yeast and gives a subtle sweetness. Salt is essential for flavor balance.
8. Egg (optional)
-
Adding one egg to the dough enriches it, improving texture and browning. An egg wash on top gives a glossy finish.
Step-by-Step Instructions: How to Make Cheesy Garlic Rolls from Scratch
Making these rolls involves three main stages: preparing the dough, assembling and shaping the rolls, and baking them to golden perfection.
1. Make the Dough
-
Warm the Milk: Heat 1 cup of milk until just warm to the touch (about 100–110°F). Too hot and it will kill the yeast.
-
Activate Yeast: If using active dry yeast, dissolve it in the warm milk with 1 tablespoon sugar and let it sit for 5–10 minutes until frothy. If using instant yeast, you can mix it directly into the flour.
-
Mix Dough: In a large bowl or stand mixer, combine:
-
3 cups all-purpose flour
-
1 tsp salt
-
Yeast mixture
-
1 beaten egg (optional)
-
2 tbsp melted butter
-
-
Knead Dough: Knead until smooth and elastic, about 8–10 minutes by hand or 5 minutes in a stand mixer.
-
Let It Rise: Cover and let the dough rise in a warm spot until doubled in size (about 1–1.5 hours).
2. Assemble the Rolls
-
Divide the Dough: Punch down the dough and divide into 12 equal pieces.
-
Fill with Cheese: Flatten each piece slightly, add a cube or generous spoonful of mozzarella in the center, and pinch the edges closed to seal.
-
Shape: Roll into a ball, seam side down.
3. Second Rise
-
Place the rolls in a buttered baking dish or on a parchment-lined tray, leaving a little space between each.
-
Cover lightly and let rise for another 30–45 minutes until puffy.
4. Bake
-
Preheat oven to 375°F (190°C).
-
Optional Egg Wash: Brush rolls with a beaten egg mixed with a splash of water for a glossy finish.
-
Bake: 18–22 minutes, or until golden brown and cooked through.
5. Garlic Butter Topping
While the rolls are baking, melt:
-
3 tbsp butter
-
2–3 cloves minced garlic
-
Optional: chopped parsley or Italian seasoning
Brush the garlic butter over the rolls as soon as they come out of the oven. The hot rolls will absorb the butter, making them extra flavorful.
Tips, Variations, and Substitutions
Flavor Variations
-
Cheddar & Jalapeño: Add shredded cheddar and a few slices of jalapeño for a spicy twist.
-
Herb & Parmesan: Mix chopped rosemary or basil into the dough, and top with grated parmesan.
-
Pesto Mozzarella: Add a spoonful of basil pesto along with the cheese for an Italian-inspired roll.
Ingredient Swaps
-
Dairy-Free: Use plant-based milk, vegan butter, and dairy-free mozzarella alternatives.
-
No Egg: The dough still works without egg—just slightly less rich. Omit or replace with 2 tbsp extra milk.
-
Garlic Powder Shortcut: If out of fresh garlic, use ½ tsp garlic powder in the butter.
Dough Tips
-
If dough feels sticky, add 1 tbsp flour at a time during kneading.
-
For ultra-soft rolls, brush the tops with melted butter before AND after baking.
-
You can refrigerate the dough overnight during the first rise for better flavor and convenience.
Serving Ideas & Occasions
Cheesy garlic rolls are incredibly versatile and welcome at almost any meal. Here are some serving suggestions:
-
With Pasta: The perfect sidekick for lasagna, spaghetti, or baked ziti.
-
Soup and Stew Nights: Serve with tomato soup, broccoli cheddar, or minestrone.
-
Holiday Spreads: An upgrade to classic dinner rolls at Thanksgiving or Christmas.
-
Party Appetizers: Serve with marinara for dipping at game day or potlucks.
-
After-School Snack: Make mini versions for kids with a side of warm sauce.
Nutritional & Health Notes
While cheesy garlic rolls are definitely an indulgence, they can be enjoyed as part of a balanced diet when made with care:
Key Points:
-
Protein: Thanks to the cheese and milk, you get a bit of protein per roll.
-
Carbs & Energy: The flour base offers energy, especially helpful if served with a lighter main dish.
-
Calcium: Mozzarella adds a dose of calcium.
-
Fat: Butter and cheese contribute saturated fat, so enjoy in moderation or use reduced-fat versions.
Lightening It Up:
-
Use part-skim mozzarella to reduce fat.
-
Substitute half the flour with white whole wheat flour.
-
Use olive oil in place of butter for a lighter topping.
FAQ: Cheesy Garlic Rolls
1. Can I use store-bought dough for cheesy garlic rolls?
Yes, pizza dough or biscuit dough can be used as a shortcut. Just divide, fill, and bake as directed. Homemade dough gives a fluffier texture, but store-bought is great in a pinch.
2. How do I prevent cheese from leaking out?
Make sure to fully seal each dough ball after adding cheese. Pinch the seams tight and place seam-side down on the pan.
3. Can I freeze cheesy garlic rolls?
Yes! Freeze baked and cooled rolls in an airtight container for up to 2 months. Reheat in the oven at 350°F until warmed through.
4. How long do they stay fresh?
Cheesy garlic rolls are best eaten the same day, but they’ll keep in an airtight container at room temperature for 2 days or refrigerated for 4–5 days. Reheat in the oven or toaster oven for best texture.
5. Can I prep these ahead of time?
Absolutely. You can prepare the dough and let it rise overnight in the fridge, or assemble the filled rolls and refrigerate them before the second rise. Bring to room temp before baking.
6. What kind of cheese works best?
Low-moisture mozzarella is ideal for stretch and melt. You can also try cheddar, provolone, or a mix of cheeses like Monterey Jack and parmesan for more flavor.
7. Do I need a stand mixer to make the dough?
No. While a mixer helps with kneading, you can make the dough entirely by hand. Just give yourself 8–10 minutes of steady kneading until the dough is smooth and elastic.