
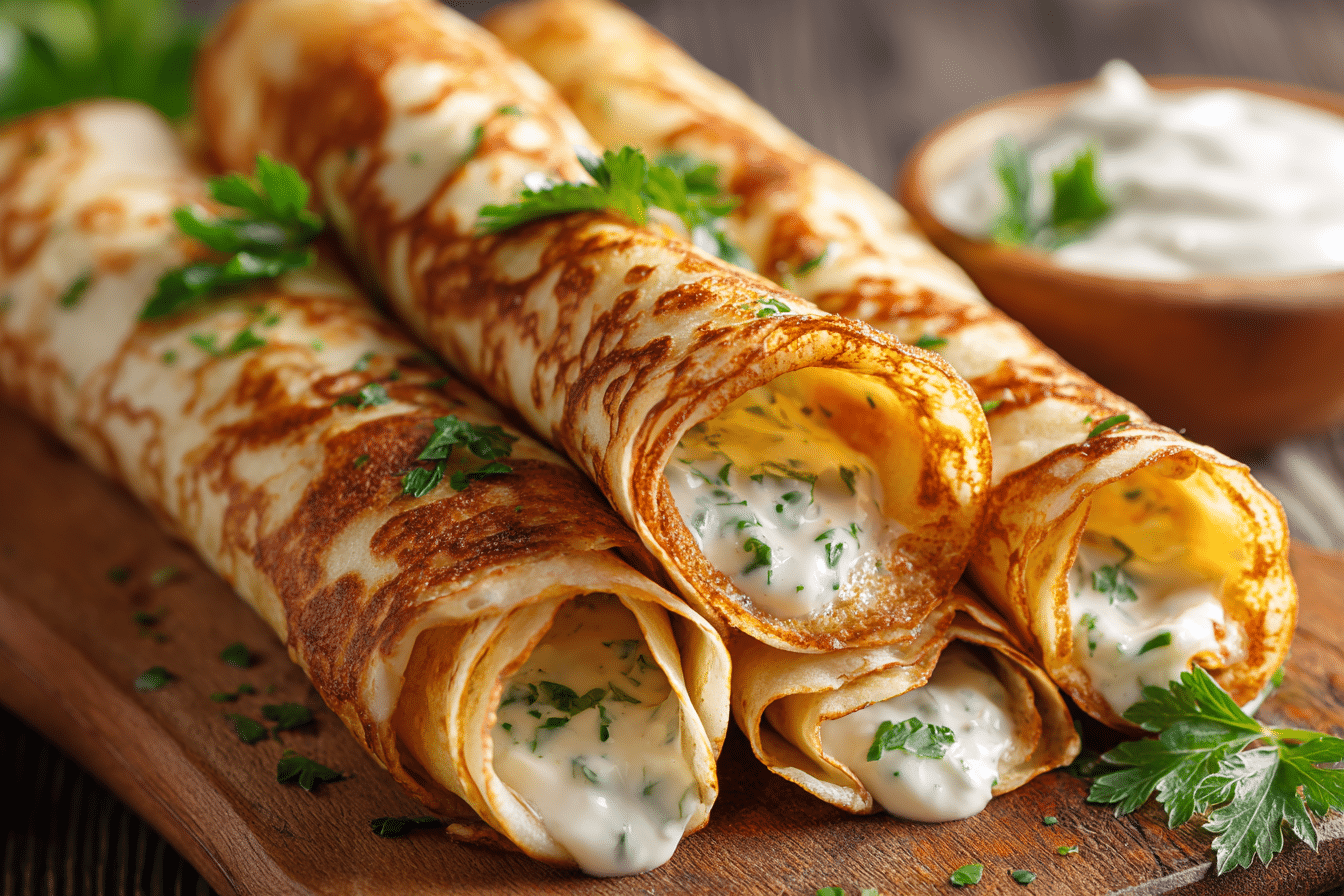
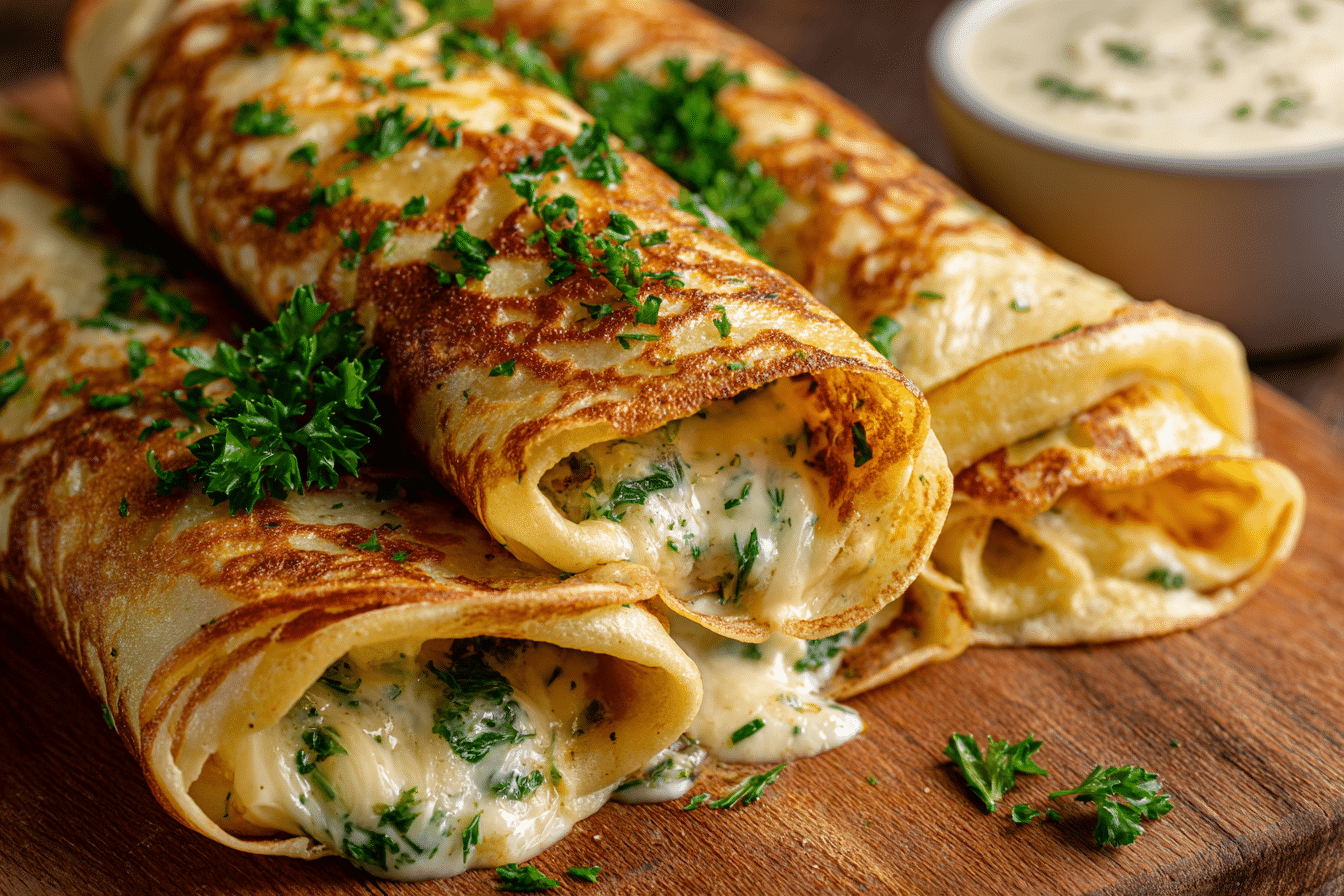
Few things hit the spot like a warm, cheesy wrap — especially when it’s packed with garlicky chicken, melty cheese, and wrapped in a soft tortilla with a crisp, golden finish. These cheesy garlic chicken wraps are the ultimate comfort food-meets-meal-prep solution, delivering bold flavor in every bite with minimal fuss.
Whether you’re planning lunches for the week or need a satisfying 30-minute dinner, this recipe offers a perfect balance of creamy, savory, and crispy textures. Inspired by street food flair and homemade simplicity, these wraps are endlessly customizable, freezer-friendly, and guaranteed to satisfy.
Ingredients Overview
Let’s break down the key players in this cheesy, garlicky goodness. This recipe uses easy-to-find ingredients, but quality and preparation matter — here’s how to get the most flavor out of each one:
Chicken
-
Boneless, Skinless Chicken Breast or Thighs: Thighs are juicier and more flavorful, while breasts are leaner. Either works well, depending on your preference.
-
Garlic: Use freshly minced garlic for bold flavor, sautéed until fragrant to mellow any sharpness.
-
Seasonings: Paprika, onion powder, salt, pepper, and a touch of Italian herbs create a savory base that pairs beautifully with cheese.
Cheese
-
Shredded Mozzarella: Melts into that perfect stringy, gooey texture.
-
Cheddar or Monterey Jack: Adds sharpness and a golden hue. A mix of cheeses works best for depth.
-
Cream Cheese (Optional): For extra creaminess and to help the filling stick together — ideal for that diner-style melt.
Garlic Butter Sauce
-
Butter: Acts as the flavor carrier and crisps up the tortilla when pan-grilled.
-
Minced Garlic & Parsley: Adds that garlic bread-like aroma and taste.
-
Parmesan (Optional): For a salty, nutty finish if you want to brush the wrap’s exterior.
Wraps
-
Large Flour Tortillas: Use burrito-size tortillas to hold all the filling. Warm them slightly to make folding easier.
-
Whole Wheat or Low-Carb Wraps: Great for dietary tweaks.
Optional Add-Ins
-
Spinach or Arugula: Adds freshness and color.
-
Sliced Tomatoes or Roasted Red Peppers: For a touch of acidity.
-
Red Onion: Thin slices add mild crunch and zing.
Step-by-Step Instructions
1. Cook the Garlic Chicken
In a large skillet, heat a tablespoon of olive oil over medium heat. Add the diced or sliced chicken and cook for 3–4 minutes until it begins to brown.
Stir in the minced garlic, spices (paprika, onion powder, salt, pepper, and herbs), and continue cooking until the chicken is fully cooked through — about 8–10 minutes total. Remove from heat and set aside.
For juicier chicken, deglaze the pan with a splash of chicken broth or lemon juice toward the end.
2. Prepare the Filling
In a mixing bowl, combine the cooked chicken with shredded mozzarella, cheddar, and cream cheese if using. The residual heat will help melt everything together into a sticky, cheesy filling.
Taste and adjust seasoning if needed. The filling should be savory, garlicky, and creamy.
3. Assemble the Wraps
Warm your tortillas in the microwave or on a skillet for 10–15 seconds to make them pliable.
Spoon about ½–¾ cup of the chicken-cheese mixture into the center of each wrap. Add optional veggies or greens if using.
Fold in the sides and roll tightly like a burrito. Secure with toothpicks if needed.
4. Sear and Finish
In a clean skillet, melt 1–2 tablespoons of butter over medium heat. Add additional minced garlic and a sprinkle of chopped parsley to create a garlic butter bath.
Place the wraps seam-side down and press slightly to help seal. Cook 2–3 minutes per side until golden brown and crispy, brushing more garlic butter on top as they cook.
If using Parmesan, sprinkle a little onto the skillet before flipping the wrap for a cheesy crust.
5. Rest and Slice
Remove from the skillet, let cool for a minute to set, and slice diagonally. Serve warm with dipping sauces or a side salad.
Tips, Variations & Substitutions
-
Shred, Don’t Dice Chicken: For ultra-soft, shredded chicken, use pre-cooked rotisserie chicken and mix directly with garlic and cheese.
-
Add Heat: Mix in chopped jalapeños or a dash of hot sauce.
-
Make It Vegetarian: Replace chicken with sautéed mushrooms, roasted cauliflower, or marinated tofu.
-
Freezer-Friendly: Wrap in foil and freeze before searing. To reheat, thaw overnight and crisp in a skillet or air fryer.
-
Add Crunch: Toss in crushed tortilla chips or pickled onions inside the wrap before rolling for added texture.
Serving Ideas & Occasions
These cheesy garlic chicken wraps are incredibly adaptable — serve them as:
-
Weekday Lunches: Wrap tightly in foil and pack with a dipping sauce like ranch, garlic aioli, or marinara.
-
Game Day Snacks: Slice into pinwheels and serve on a platter with toothpicks.
-
Quick Dinners: Pair with roasted potatoes or a crisp salad with lemon vinaigrette.
-
Brunch Boards: Add them to a casual brunch spread with eggs, fruit, and coffee.
They’re best enjoyed warm, right after crisping, but are also delicious at room temperature or reheated.
Nutritional & Health Notes
While this dish is hearty and indulgent, it’s easy to adapt for balance:
-
Use chicken breast for a leaner protein option.
-
Opt for low-fat cheese or use smaller portions to reduce calories.
-
Wrap in a whole wheat tortilla for added fiber and nutrients.
-
Sneak in spinach, kale, or chopped peppers to boost veggie intake.
Each wrap can range from 350–500 calories depending on ingredients. Pair with a light salad or broth-based soup for a more rounded meal.
FAQs
Q1: Can I bake these wraps instead of pan-frying?
Yes. Place assembled wraps seam-side down on a parchment-lined baking sheet, brush with garlic butter, and bake at 400°F (200°C) for 12–15 minutes, flipping halfway.
Q2: What’s the best cheese combo for extra flavor?
A mix of mozzarella (for melt), sharp cheddar (for flavor), and a touch of cream cheese (for richness) creates a gooey, flavorful filling. Gouda or provolone are great add-ins too.
Q3: How do I stop the wrap from falling apart?
Avoid overfilling, and make sure the tortilla is warm and pliable before rolling. Searing seam-side down first helps seal it closed.
Q4: Can I prep these ahead of time?
Absolutely. Assemble the wraps and refrigerate for up to 3 days. Cook just before serving for the crispiest texture.
Q5: What dips go well with this recipe?
Try ranch dressing, chipotle mayo, garlic aioli, sour cream, or even marinara. Their tangy or creamy profiles balance the savory filling.
Q6: Can I make it spicy?
Yes! Add red pepper flakes, cayenne, hot sauce, or spicy shredded pepper jack cheese to the filling.
Q7: Are there gluten-free options?
Use certified gluten-free tortillas. Also double-check your spices and cream cheese for gluten-free labels if necessary.
PrintCheesy Garlic Chicken Wraps – Easy, Gooey, Flavor-Packed Lunch
Crispy, cheesy garlic chicken wraps filled with melty cheese and savory chicken. Perfect for lunches, quick dinners, or meal prep.
Ingredients
-
2 cups cooked chicken (shredded or diced)
-
2 cloves garlic, minced
-
1 tsp paprika
-
½ tsp onion powder
-
½ tsp salt
-
¼ tsp pepper
-
½ tsp Italian seasoning
-
1 cup shredded mozzarella
-
½ cup shredded cheddar
-
2 tbsp cream cheese (optional)
-
4 large flour tortillas
-
2 tbsp butter
-
1 tbsp chopped parsley
-
2 tbsp grated Parmesan (optional)
Instructions
-
Cook chicken in a skillet with olive oil, garlic, and spices until golden and cooked through.
-
In a bowl, mix cooked chicken with cheeses until combined.
-
Warm tortillas and add filling. Roll tightly into wraps.
-
In a skillet, melt butter with garlic and parsley.
-
Sear wraps 2–3 minutes per side until golden and crisp.
-
Slice and serve warm.
Notes
-
Add veggies like spinach or tomato for variation.
-
Use gluten-free wraps if needed.
-
Freeze assembled (uncooked) wraps for up to 1 month.